Trying my hand at weaving

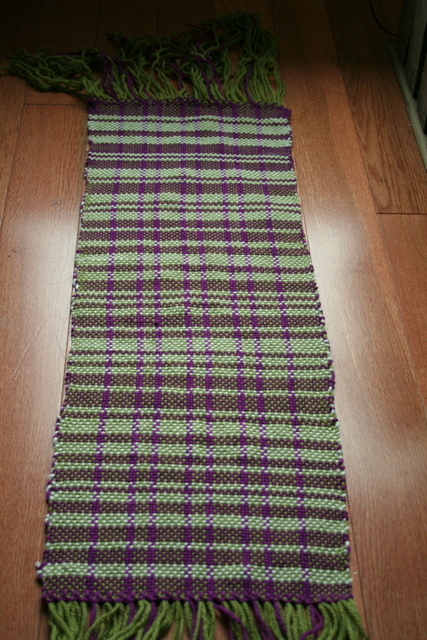
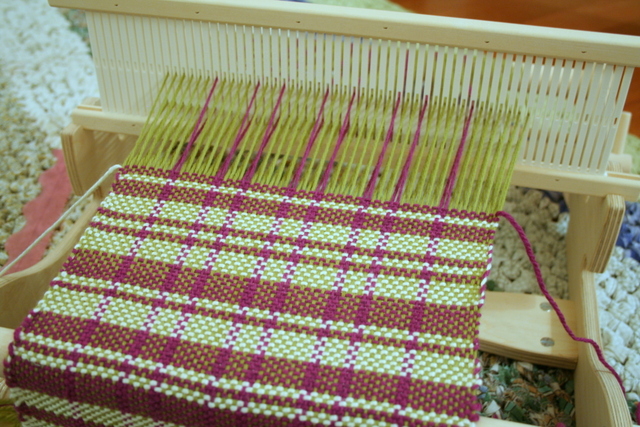
For Christmas this year, I picked out a Cricket weaving loom. You know, because I don’t have enough craft hobbies.

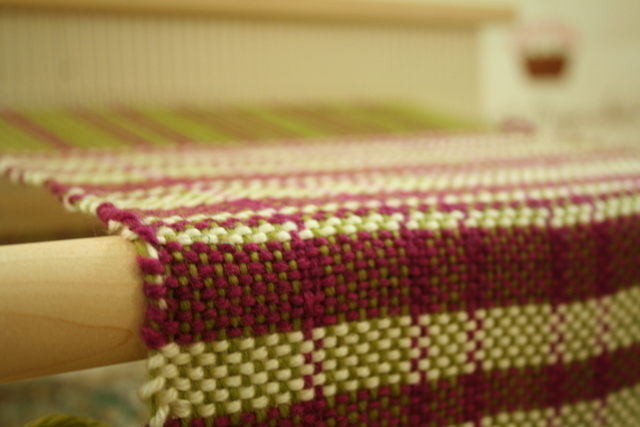
IMG_7202 IMG_7203

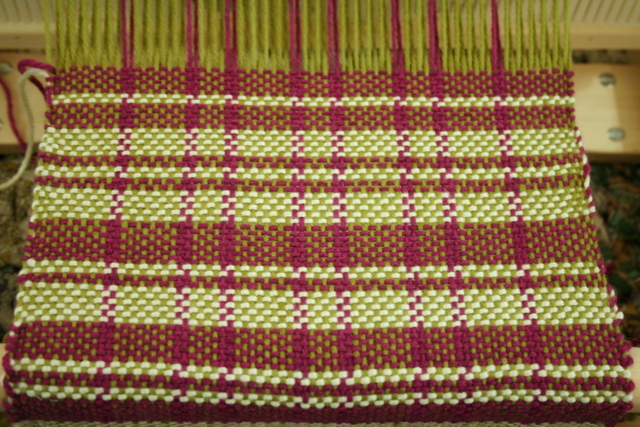
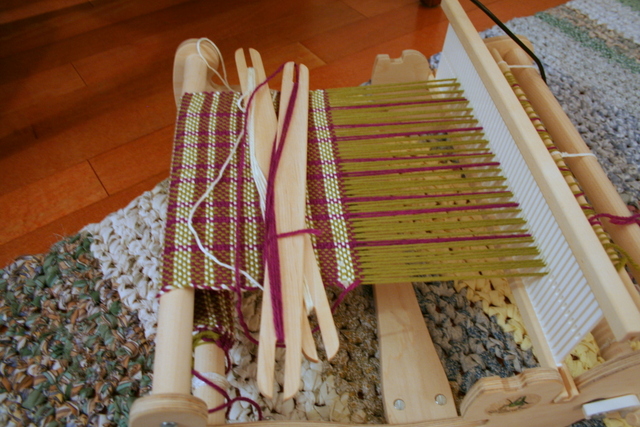
The loom is pretty easy to work and comes with a little instruction booklet on how to warp it (the vertical strands in these photos that are attached to the loom), and how to weave the weft, which is just passing the yarn back and forth through the warp.

IMG_7210

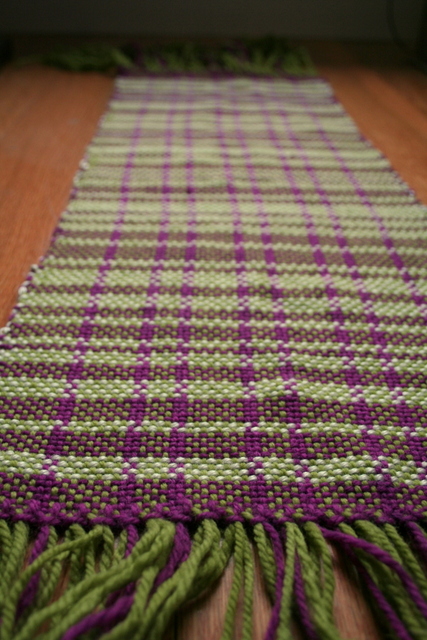
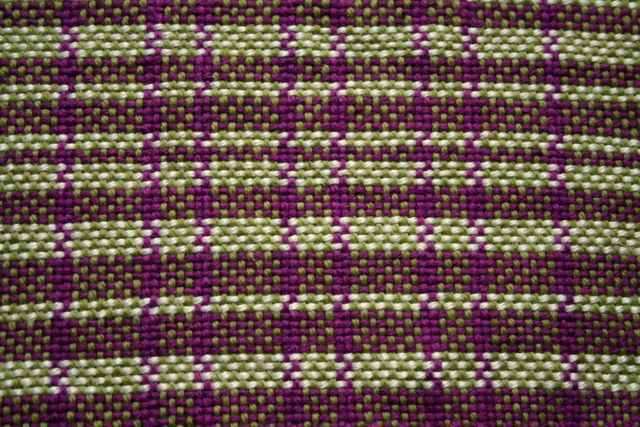
This is my second attempt… my first practice looks like a kindergartener made it, so I went more slowly the second time and am much happier with how it looks.

IMG_7219

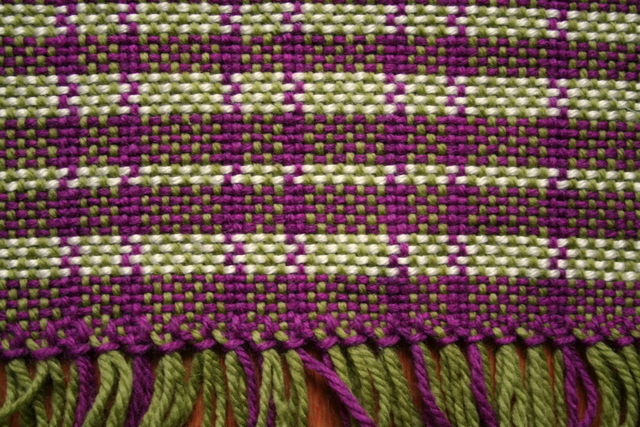
I still have some figuring-out to do – for example, how do I switch colors without making the edges messy?

IMG_7224

There seems to be a dearth of beginner-level tutorials/instructions online for weaving, so I’m trying my best, but am sure there are lots more possibilities and tricks that I’m missing. My local library sadly does not have any weaving books, so I may actually (gasp) buy a book so I can learn something beyond the very basics.

IMG_7233

As Ryder keeps asking me “what are you going to make with this?” Truthfully, I don’t really know yet. Scarves are the obvious answer, but at the moment I live in a place that does not require scarves, and it’s rather the wrong season to be giving them to my Michigan family.

IMG_7234

My other ideas include place mats, decorative pillows, and kitchen towels (once I learn how to warp finer yarn onto the loom). I’ve seen mention of double-width weaving which would enable me to weave 30″ wide fabric on my 15″ loom, which opens up possibilities of small blankets, rugs, and surely other things too. What do you think? What else can I make with my loom? In the meantime, I think I have some more practicing to do…

IMG_7235

Posted in weaving | 1 Comment

Teeny tiny Christmas tree

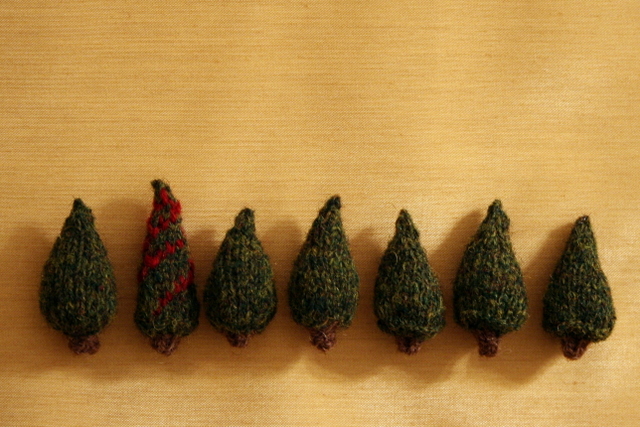
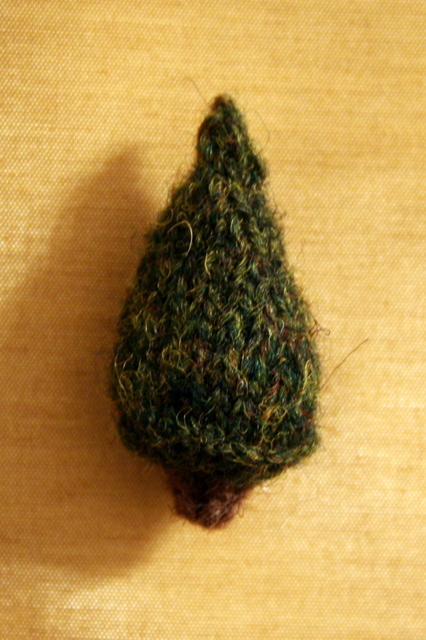
Lately I’ve been knitting lots of tiny things, and I got it in my head that I wanted to knit some tiny Christmas trees. I couldn’t find a pattern that was appropriately tiny and tree-like, so I did some experimenting, and came up with one.

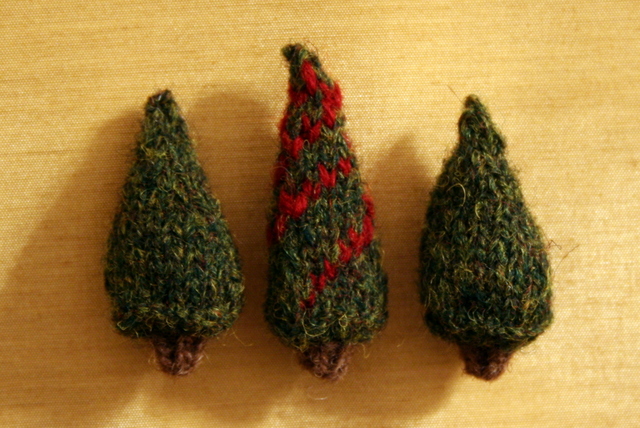
tiny knitted Christmas trees

Materials needed:

  • Bit of foresty green yarn
  • Tiny bit of brown yarn
  • 4 DPNs
  • Bit of polyfill stuffing
  • Small magnet (optional)

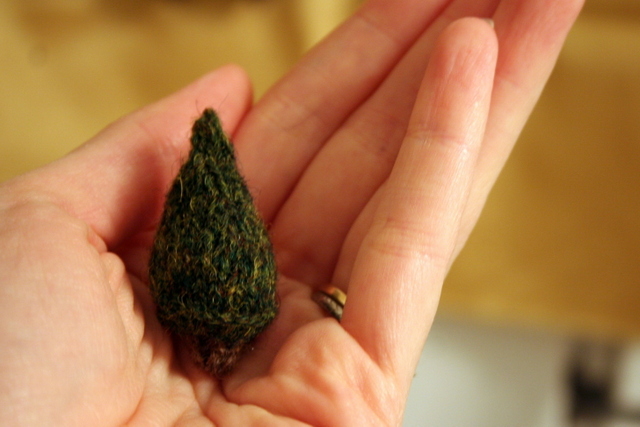
I used Shetland Spindrift, a fingering-weight yarn, to make these teeny Christmas trees and size US1 needles. My trees ended up about 2″ tall. You could, of course, use thicker yarn to make slightly larger versions.

tiny knitted Christmas tree

Abbreviations:

Kfb: knit into front & back of stitch
K2tog: knit two stitches together

Instructions:

  1. With brown yarn, cast on 6 stitches
  2. Divide onto 3 DPNs and join for working in the round
  3. Knit 2 rounds
  4. Switch to green and break brown
  5. Knit 1 round
  6. Kfb 6 times (12 stitches total)
  7. Kfb 12 times (24 stitches total)
  8. Purl 1 round
  9. Knit 3 rounds
  10. (K2tog, knit 6) 3 times (21 stitches)
  11. Knit
  12. (K2tog, knit 5) 3 times (18 stitches)
  13. Knit
  14. (K2tog, knit 4) 3 times (15 stitches)
  15. Knit
  16. (K2tog, knit 3) 3 times (12 stitches)
  17. Knit
  18. (K2tog, knit 2) 3 times (9 stitches)
  19. Knit
  20. Stuff tree firmly. If desired, add a small magnet within the tree
  21. (K2tog, knit 1) 3 times (6 stitches)
  22. Knit
  23. K2tog 3 times (3 stitches)
  24. Add a bit more stuffing if possible
  25. Break yarn, thread end on tapestry needle and draw through remaining stitches
  26. Weave in ends

Ta-da!

tiny knitted Christmas tree

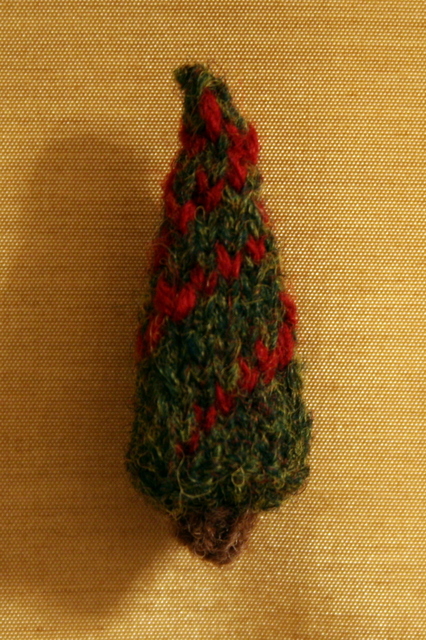
I also made a variation with red garland. To do this, follow the instructions through step 8. On step 9, (knit 8 green, knit 1 red) 3 times. On each successive round, shift the red stitch one to the right. For example, the next round is (knit 7 green, knit 1 red, knit 1 green) 3 times. The yarn carried behind the stitches did pull the tree into a tighter shape (and make it harder to stuff), so I recommend stuffing as you go if you try this approach.

tiny knitted Christmas tree

Enjoy!

tiny knitted Christmas tree

Posted in Knitting, patterns | 2 Comments

The things you find when you organize your yarn

A few weeks ago, I got fed up with the cardboard box holding all my yarn. Well, “holding” is a generous term. My stash no longer fit in a single cardboard box, so it was spilling onto the floor of the craft room (well, craft/office/guest/storage room). Ideally, I wanted some wooden shelves – more of cubbies, actually – for my yarn (something like these). But, I didn’t have any extra shelving sitting around, nor do we really have room for it (see aforementioned multi-purposiveness of the craft room). In a moment of inspiration, I remembered that I had a shoe organizer that hangs from a clothes rod. It has 10 slots for shoes, but our closet here is so tiny that there wasn’t room for it. I still have nowhere to hang it, but I wiped down the fabric, put it on the floor, and happily filled it with my yarn stash. The good news is my current stash fits. The bad news… only barely.
Along the way, I found a few unfinished projects.

IMG_5880

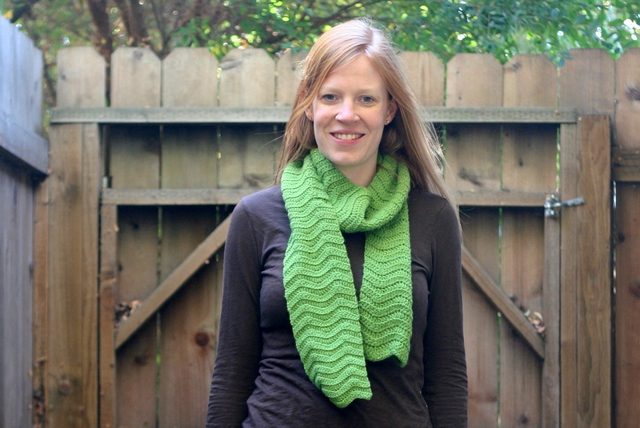
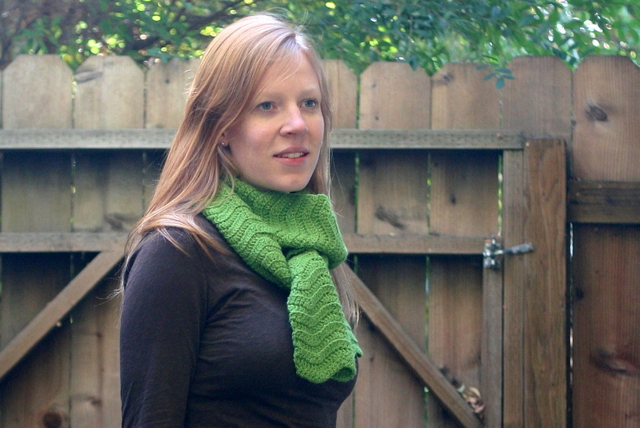
My very first crochet project was this ripple scarf in a sparkly green yarn. It was a good practice project, but I never finished it – I got bored with it and moved on to greener pastures (I blame the tiny cacti). Enough! Time to finish it so I could properly store the rest of the skein. I finished the row I was on and called it good.

IMG_5887

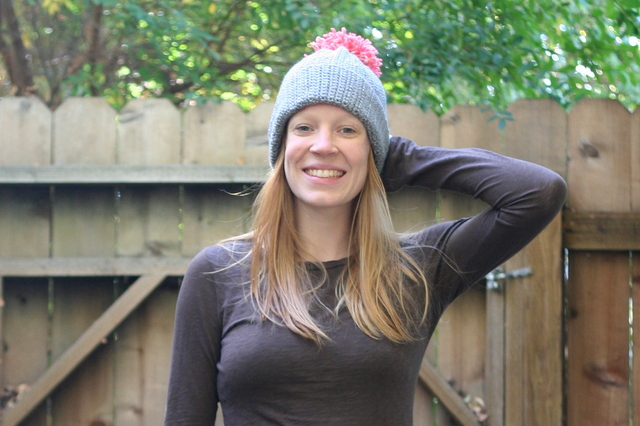
And then I found this almost-finished crocheted hat. I made up this pattern, starting the hat (and mostly finishing it) on our epic cross-country drive in January. It only need an hour or two more to make it a comfy, cozy hat. For those cold California Novembers…

IMG_5894

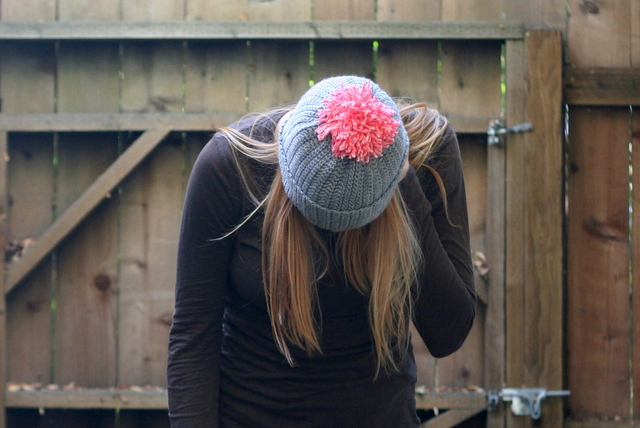
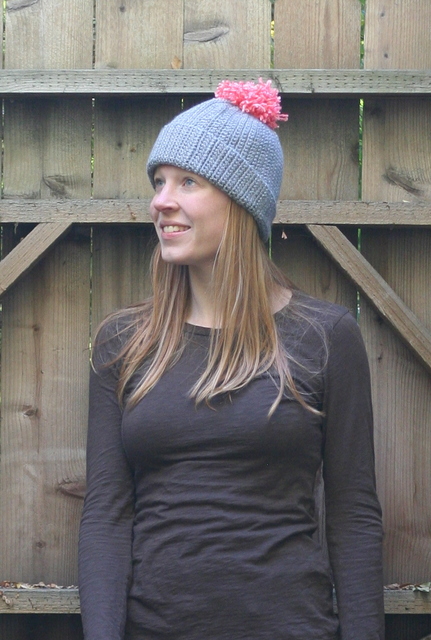
The crown of the hat turned out a bit wonky (and kind of boring, too), so I decided to add a big cheery pompom to the top. The winning yarn was leftover from my stegosaurus, also started on the cross-country drive.

IMG_5895 IMG_5903

p.s. While looking for a picture of the storage cubbies I had in mind, I saw this brilliant idea for yarn storage – on a pegboard! And wouldn’t you know… we happen to have a piece of pegboard in our stash of wood! I’ll let you know if I try it.

Posted in crochet, Knitting | Leave a comment

A sleeveless sweater, just in time for winter

It’s a good thing I live in a place where the average temperatures in November are still in the mid-60s, because I just knitted myself a sleeveless sweater (or a sweater vest, if you insist… but it’s not very vest-like).

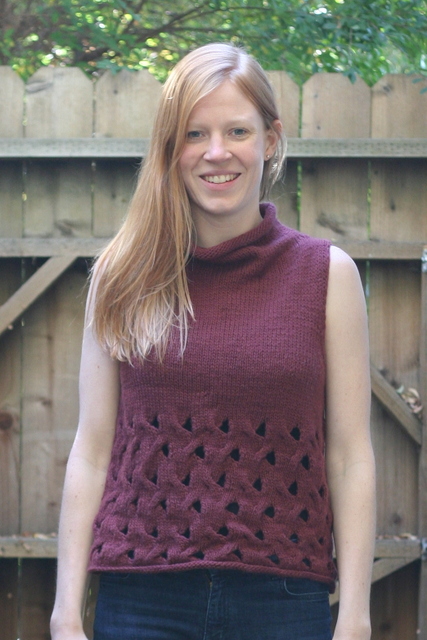
High-profile top

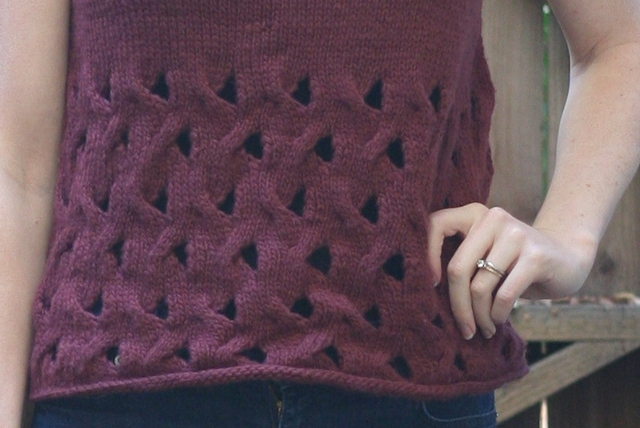
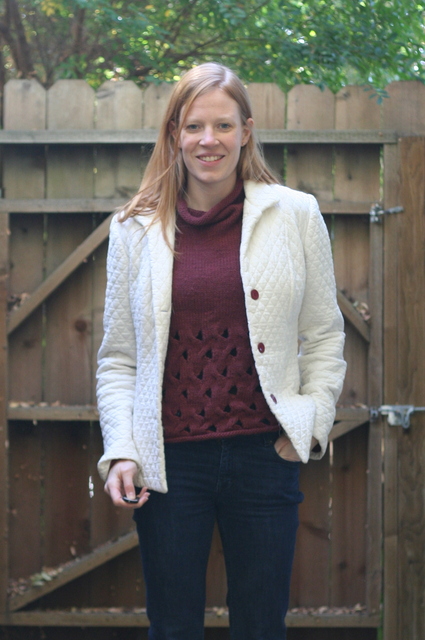
My in-laws gave me The Shape of Knitting for my birthday this past April, and this is the first project I’ve knitted from it – the High Profile Top. The book is all about interesting 3-D knitting construction techniques. I really like how the funnel neck is shaped – there are some short rows on the front, which gives the neck some breathing room (literally), so it’s not a choke-y turtleneck feeling.

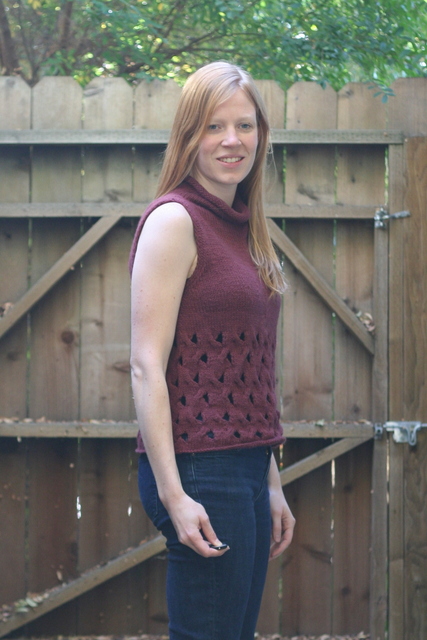
High-profile knitted top

I knitted this in Malabrigo Worsted in Cabernet, which was an interesting yarn to work with. It didn’t have a very consistent weight – some bits were thicker and fluffier, some thinner. It’s a single ply yarn, and I’m not sure if that’s why it’s like that, or if it’s just this Malabrigo yarn. Either way, it’s a really soft yarn and I liked knitting with it except for a few super fluffy parts. I did read that it pills really easily, so I’m going to be careful not to wash it too much. =)

Knitted top

I like the design of the sweater, and the pattern was easy to follow, but it is a bit odd – it’s a sleeveless sweater with an intentional holey cable pattern – how exactly am I supposed to wear this? The Malabrigo yarn is 100% wool, so it’s warm, and I obviously have to wear something underneath it, so it’s too warm for summer. And it’s sleeveless… so it’s also kind of chilly in all the other seasons. I tried it with a long-sleeved shirt underneath it, but wasn’t a huge fan, so I’ll probably primarily wear it under a jacket.

Sleeveless knitted sweater

Any other ideas for how to wear this?

Posted in clothing, Knitting | 1 Comment

First socks

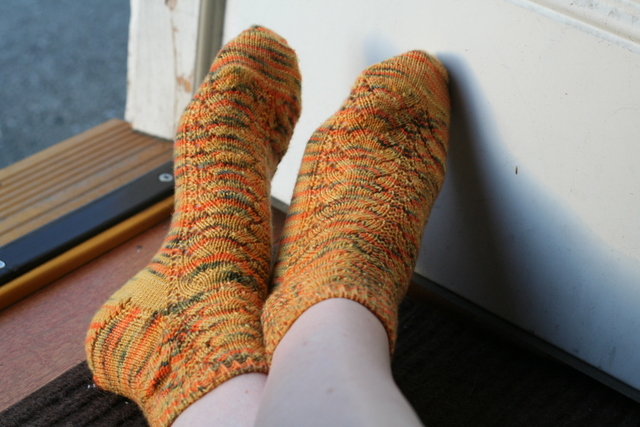
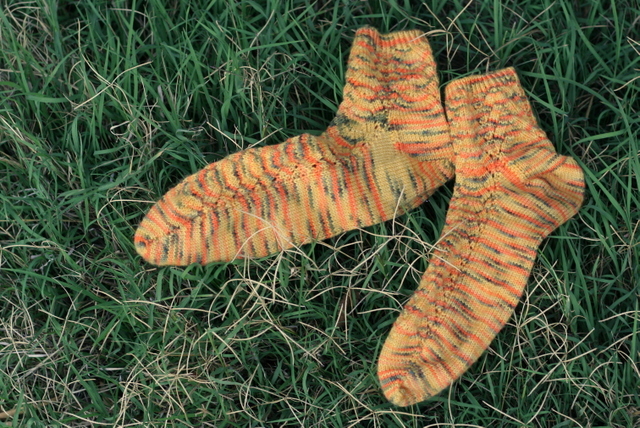
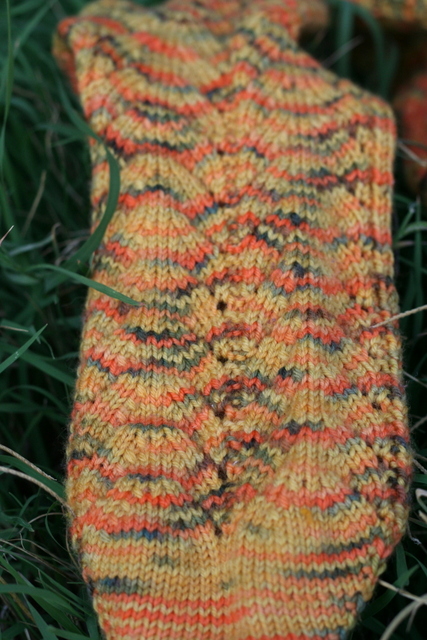
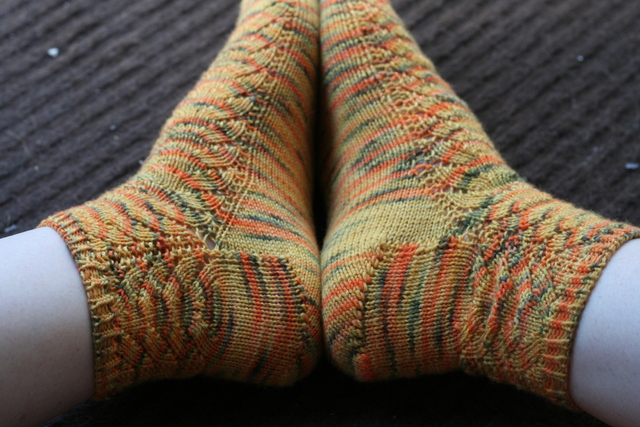
Apparently knitting your first pair of socks is a bit of a knitting rite of passage. These are the Salis Socks, knitted in Cascade Yarns Heritage Paints.

salis socks

My friend Abie and I exchanged yarns (she picked this one out for me), and we agreed to knit ourselves socks with our traded yarns, since neither of us had knitted socks before and they are a little intimidating.

First socks

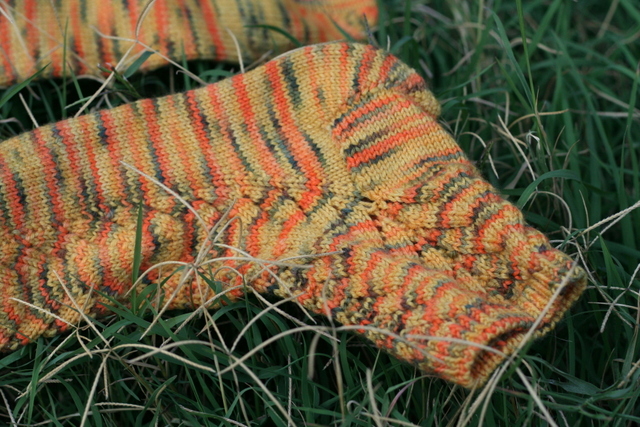
I was pleasantly surprised with how… non-difficult socks are. It’s basically just knitting a tube, with a few special rows to shape the heel and the toe.

salis socks

Plus, you get to try them on as you go!

knitted sock detail

My socks did turn out slightly too long for me – I was concerned about making sure they were long enough, and I didn’t realize that I should have made them a little shorter than my feet so they’d fit snugly. Oh well – they’re still really pretty and I plan to wear them a lot!

sock heels

Posted in Knitting | 1 Comment

Halloween Korknisse

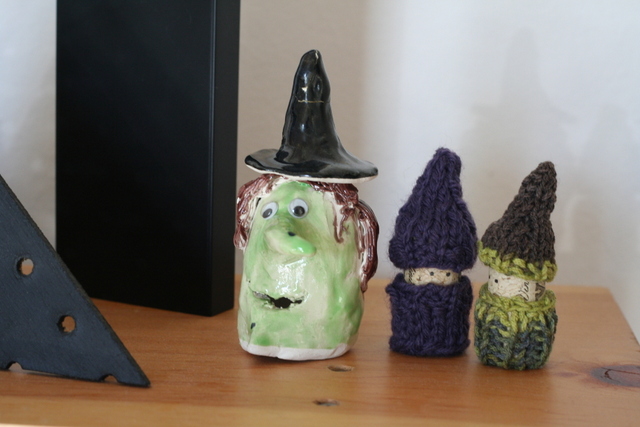
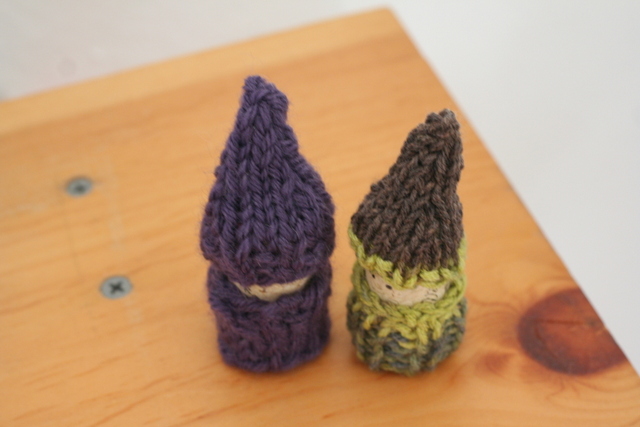
Inspired by these cute nisse, I knitted a pair of korknisse for myself out of bits of scrap yarn and some corks I had been saving just for this.

korknisse

Don’t they look like they’re telling secrets?

halloween accomplices

Their colors happened to coordinate quite nicely with this clay witch, one of my Halloween decorations (along with a pair of ghosts, all of which were made in “Clay All the Way” class when I was about 10).

knitted cork gnomes

As we all know, the smaller something is, the cuter it is, so these definitely fall into the “very cute” category. I expect there will be many more of these in the future… until I run out of corks, that is (although I think I could solve that problem). (pattern here)

Posted in Knitting | Leave a comment

A Gecko and Christmas Gifts

First, a gecko:

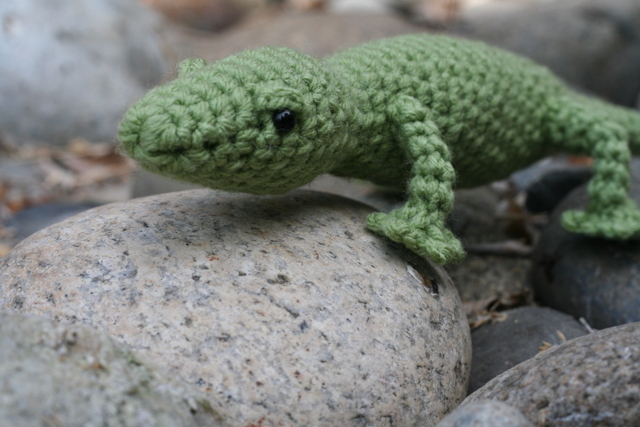
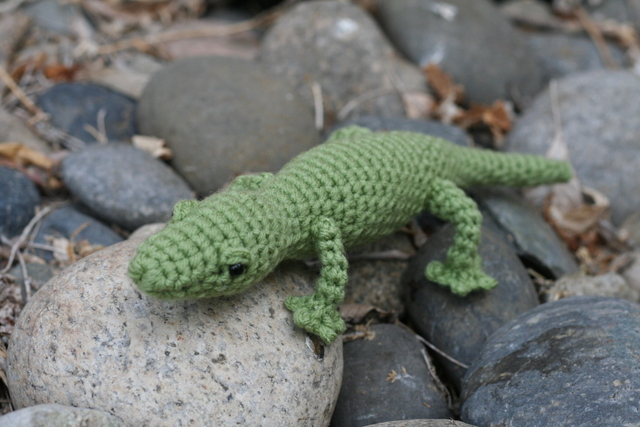
crochet gecko

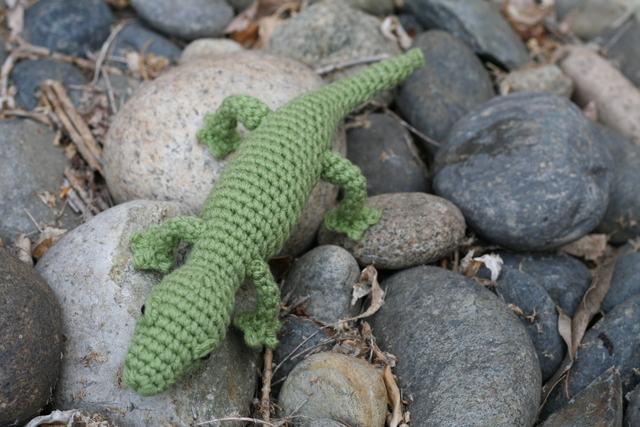
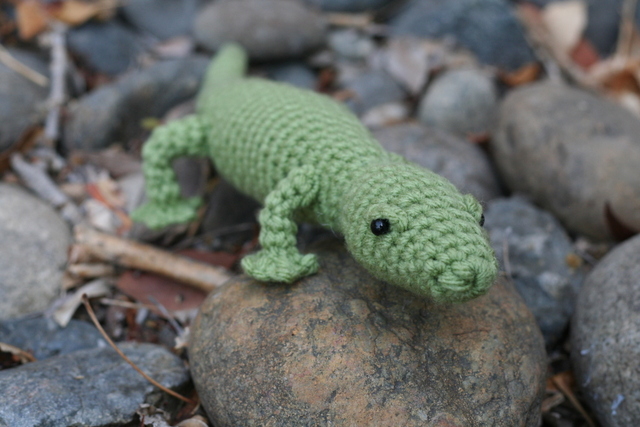
For my dad’s birthday a few weeks ago, I crocheted him this gecko (pattern here).

gecko

He really likes geckos, so this was a perfect gift.

gecko

And Planet June’s crochet patterns are great – really well written, realistic, with lots of pictures.

IMG_5513


Second: Christmas gifts (too soon?)

Ryder and I usually make a bunch of Christmas gifts, because most of the people we buy gifts for fall into the “have everything” category, plus it’s a lot of fun to dream up projects that our family members will love. We’re trying to get a head start on the projects this year so we don’t end up finishing gifts a few hours before we leave, so we spent yesterday sawing and knitting the first two gifts! Have you started thinking about Christmas gifts yet? When do you enter the “no-one-look-at-what-I’m-working-on” phase?

Posted in crochet, finished | 1 Comment

A knitted sweater (or, everything is cuter in miniature)

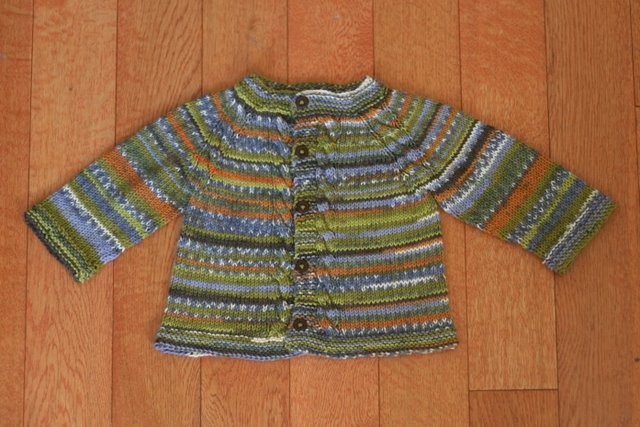
When I found out I was going to be an aunt (yay!), it was the perfect opportunity to knit my first sweater! I was in a yarn shop and saw a really sweet baby kimono sample hanging next to the sock yarn. I promptly bought a skein of Berroco sock yarn, which is so so soft (and machine washable), and headed home with dreams of sweaters…

knitted baby sweater

I looked up the baby kimono pattern, and it seemed too vaguely written for me to follow, since I am was a total sweater novice. Instead, I trawled ravelry for a while, and found the Sunnyside cardigan pattern. It was well written, and I got to learn how to make cables (which are actually very simple to make, even though they look mind-boggling)

IMG_5305

I did discover that a baby sweater may be smaller than an adult sweater, but if you knit it in sock yarn, it still takes a lot of stitches! I also learned how to fix missed cables, for that time I forgot to make a cable until two rows later… invaluable skills!

Posted in clothing, Knitting | 1 Comment

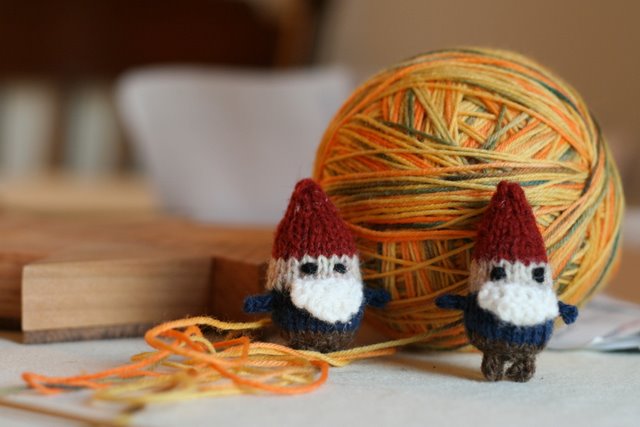
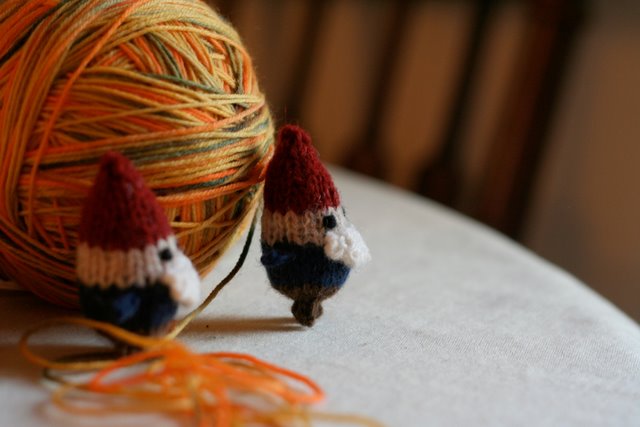
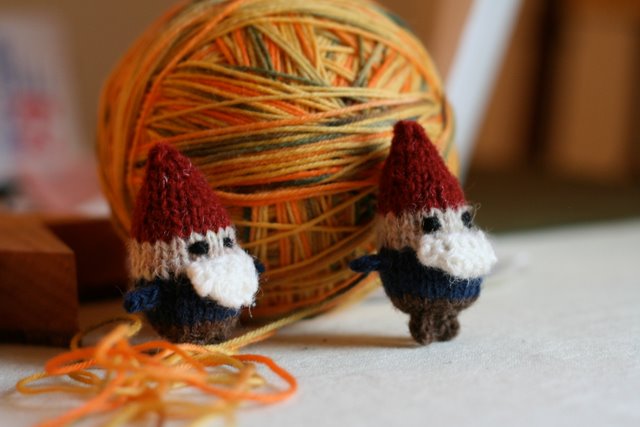
Tiny knitted gnomes

I seem to be developing a bit of a gnome problem…

tiny knitted gnomes

It all started when I got a gnome for Christmas last year.

tiny knitted gnomes

And then I learned how to knit.

tiny knitted gnomes

And of course, you can make all sorts of cute things with knitting. Like gnomes.

tiny knitted gnomes

These two have migrated on to other places, but I suspect more will turn up in the coming months.

Posted in Knitting | Leave a comment

How to crochet a barrel cactus

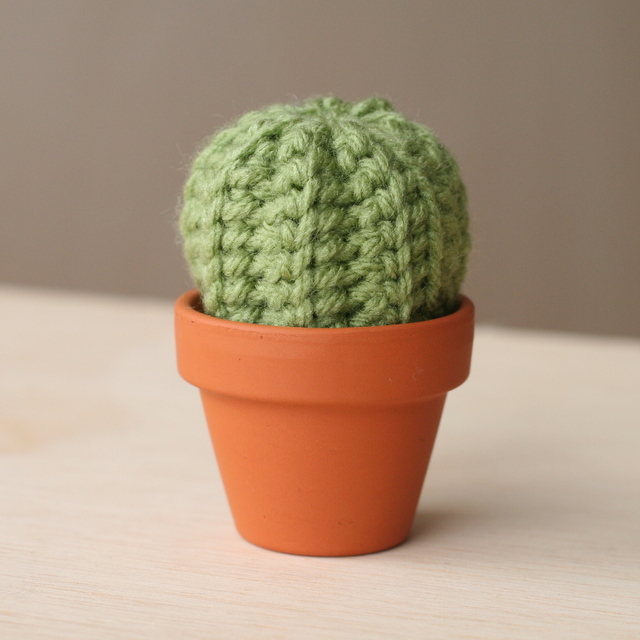
This little echinocactus grusonii cactus is quick to make and, I think, adorable.

crochet cactus diy

I used a 3.5mm hook (size E) with Impeccable Worsted yarn in Fern (from Michaels), but any greenish yarn will work. You’ll also need a tiny flower pot (I found those at Michaels as well) and a bit of stuffing.

Ready?

  1. Chain 11
  2. Turn and single crochet into the front loop only for 16 rows. This should give a rectangle with very visible ridges.
  3. Cut yarn and draw through last yarn, leaving a long tail
  4. Using a tapestry needle, stitch the initial chain to the last row to create a tube with vertical ridges
  5. Thread the needle through the bumps on one end of the open tube, drawing tightly together to close the end. Bury the end in the cactus and trim end.
  6. Stuff firmly
  7. Thread the needle with another bit of yarn, and draw through the bumps on the open end of the tube, drawing tightly together to close.

crochet cactus tutorial

For added cuteness, crochet a tiny flower and sew on the top. Tuck your new cactus in the flowerpot and admire! No watering necessary. =)

Want more? Try this saguaro cactus tutorial.

Posted in crochet, tutorial | 18 Comments