Fall Wardrobe

Inspired by Jen at Grainline Studio, I’ve been mulling over my fall wardrobe. What do I want to make this fall?

  1. Just-past-the-knees wool skirt (perhaps with this simple pattern and this wool?)
  2. Duo-tone black/gray top from upcycled t-shirts
  3. Dolman sleeved top (pattern here, in this fabric)
  4. Arm warmers (crocheted or upcycled from an old sweater)
  5. Coat, pattern from Built by Wendy Coats & Jackets. I’m thinking a simple straight-line cut in burgundy wool
  6. Casual jacket in green/tan twill

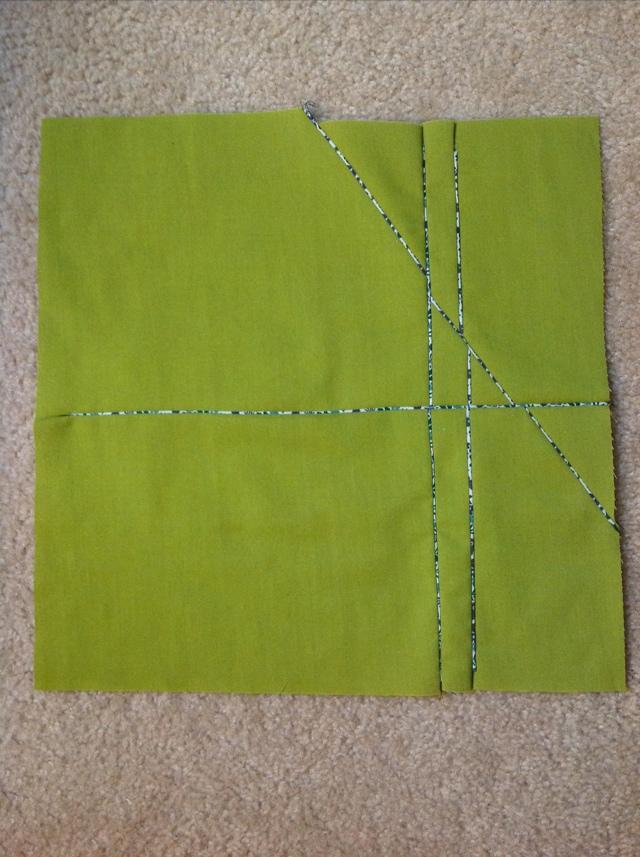
Thanks to an amazon gift card, I’ve order fabric for a skirt and the burgundy coat, and I made a muslin for the coat this week! Funny how just drafting this list motivated me to get started sewing! I’ll keep you posted on how my fall wardrobe shapes up.

Posted in clothing | 1 Comment

How to crochet a saguaro cactus

crochet saguaro above

Saguaro Cactus

Desert Botanical Garden in Phoenix

I learned how to crochet specifically because I wanted to make cacti. What, is that not why most people learn to crochet? But crochet cacti are adorable. Even my male coworkers agree. Well, they didn’t use the word “adorable” but they did find them to be “awesome”.

Today I’m going to give you a tutorial on how I made a saguaro cactus.

I used a 3.5mm hook (size E) with Impeccable Worsted yarn in Fern (from Michaels). You’ll also need a tiny flower pot (I found those at Michaels as well)

For the main cactus body:

  1. Start with 4 single crochets in the round. I use the technique described here to start my round.
  2. For the next round, crochet two single crochets into each of the previous round’s stitches. You should now have 8 stitches in your round
  3. Crochet one single crochet into each stitch. Stuff bits of polyfil into the cactus as you go to create a solid body. Repeat this step until your cactus is about 3.5″ tall
  4. Finish stuffing the cactus, and tie off your cactus bottom

crochet saguaro cactusFor the arm:

  1. Start with 4 single crochets in the round, same as above.
  2. For the next round, crochet two single crochets into each of the previous round’s stitches. You should now have 8 stitches in your round
  3. Crochet one single crochet into each stitch. Stuff bits of polyfil into the cactus as you go to create a solid body. Repeat for 6 rounds
  4. For the next two rounds:
    1. single crochet
    2. double crochet
    3. double crochet
    4. single crochet
    5. slipstitch 4 times
  5. for the next two rounds, single crochet into each stitch, stuffing as you go
  6. Tie off the end, and use a yarn needle to attach the arm to the cactus

To finish, place cactus in a small flower pot and stuff around the base with scraps of brown fabric (I used bits of an old t-shirt), or small stones. Admire your cactus!

Posted in crochet, tutorial | 10 Comments

Tiny crochet cactus in a tiny flower pot with a tiny flower

crochet cactus with flower
I am inordinately excited about this tiny cactus. Thanks to my awesome coworker, I now know how to crochet a cactus! This guy is about 3″ tall and is stuffed in a tiny flower pot. I see a cactus collection in my future…

Flower pattern from here.

Posted in crochet | Leave a comment

Expanding my craft horizons

I’ve been working on several new-to-me projects recently. Apparently when I start several new things at once, it takes a lot longer to finish any of them!

Here’s what I’ve been up to:

braided rug made with strips torn from old sheets


narrow-line quilting – experiments for a larger quilt


the very very beginnings of a crochet habit. an awesome coworker taught me how to crochet a couple of weeks ago and convinced me to make a scarf before I start on the cactus I really want to make. pattern here

Posted in in progress, Sewing | 2 Comments

Floating Pencil Holder

Every now and then, my husband dreams up a very specific project, and immediately makes it. There’s usually not much ruminating or “hmm, what should I make”, but rather “I’m going to make a pencil holder and this is what it’s going to look like.” Impressive.

This is a trick pencil holder of sorts. The two wooden pieces float, suspended amongst the 20 pencils.

Have you spotted how it works? Of course you have. =) Three of the pencils are glued in place, with their sharpened tips holding the whole piece up.

Posted in finished, home dec, wood | Leave a comment

Cotton dolman shirt pattern

the pattern in miniature

All right, friends. After several practice shirts, I’ve put together a dolman shirt pattern for you, sizes small through large. A full size chart is below. I’ve been making myself the “medium” (example here).

The pattern has an optional collar facing if you’d prefer that over a tiny rolled hem, but I found particular joy in making an entire shirt out of two pieces of fabric and no closures.

I recommend cotton voile as the fabric, which is a breezy, drapey fabric that lends itself very nicely to a shirt like this. (I recommend french seams if you use voile.)

Download the free Cotton dolman shirt pattern!

Please do let me know if you make a shirt from this pattern – I’d love to see it! And of course, if you run into any issues, let me know as well.

Sizes:

Size Bust measurement Finished bust measurement Waist measurement Finished waist measurement
Small 34″ 36″ 27″ 29″
Medium 36″ 38″ 29″ 36″
Large 39″ 41″ 32″ 34″
Posted in clothing, patterns, tutorial | 16 Comments

Quick Cloth Napkins

Napkin set

I’ve been on a cloth napkin kick lately. They’re quick to make, and dress up our everyday table nicely. This set was made for dear friends who just got married.

To make:

  1. Cut a 17″ square of fabric
  2. Fold the edges under 1/4″, then another 1/4″ to create a narrow hem (if you want to be proper, you’d press these before you sew. I just fold them under with my fingers as I stitch, estimating the width, which makes these napkins much faster!)
  3. Stitch along the edge; mitering the corners (folding the hems on top of each other also works, but makes for a bulkier corner)
Posted in finished, home dec | Leave a comment

Almost-reversible iPad case

Well, my iPad now has a home! I started with some narrow-line patchwork (tutorial here), then carefully cut into it to form the outside layer of my iPad cover.

This is the ugly guts of it – remnants of quilt backing & batting from my robot quilt, with the outside layer tucked inside the lining to stitch around the edges.

Then I flipped the whole thing right-side out, tucking the batting layer between the outside & inside.

Here’s the non-reversible part: a button closure.

Ta-da! It’s almost reversible – all the inside seams are hidden between the two layers, but there is that button which makes it one-sided. If you truly wanted to make this reversible, I’d use a set of strong magnets and tuck them between the layers so you could reverse it. I wasn’t quite ready to trust my iPad to a set of magnets, though, or to Velcro, which seems to be the other popular iPad cover closure.

Posted in Etc, finished | Leave a comment

Pastry Dolman Shirt

dolman sleeve cotton top

Well, I made another dolmansleeved shirt, this time in Lilac Pastry voile from Anna Maria Horner. I loooove voile for these shirts – it’s super soft and drapes very nicely. It seems like there are only limited prints available in voile right now, though – this Pastry line is a few years old and only a few online shops are stocking it (I got mine from sewmamasew.com)

pastry dolman sleeve top

I’m finally comfortable enough with this design that I’m going to attempt to make a pattern/tutorial for this shirt. Wish me luck!

Posted in clothing, finished | 2 Comments

Narrow-line quilting

20120526-161718.jpg

I’ve been playing with some narrow-line quilting lately. I love the geometric look and the tiny pops of color. I was a bit stuck, however, as to what to do with the patchwork pieces I ended up with.
20120526-114958.jpg

The patchwork piece ends up quite thick, with the overlapping seams, so it doesn’t really work for a placemat or things that need to be flat. But, I just got an iPad(!), so I decided a narrow-line-quilted-case is in order. We’ll see how it turns out!

Posted in in progress, quilting | 1 Comment